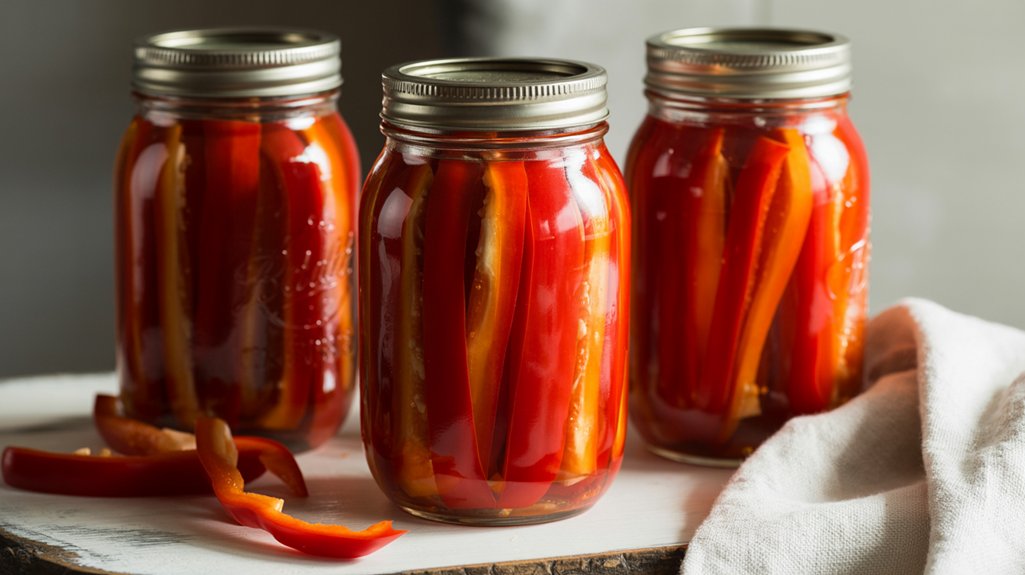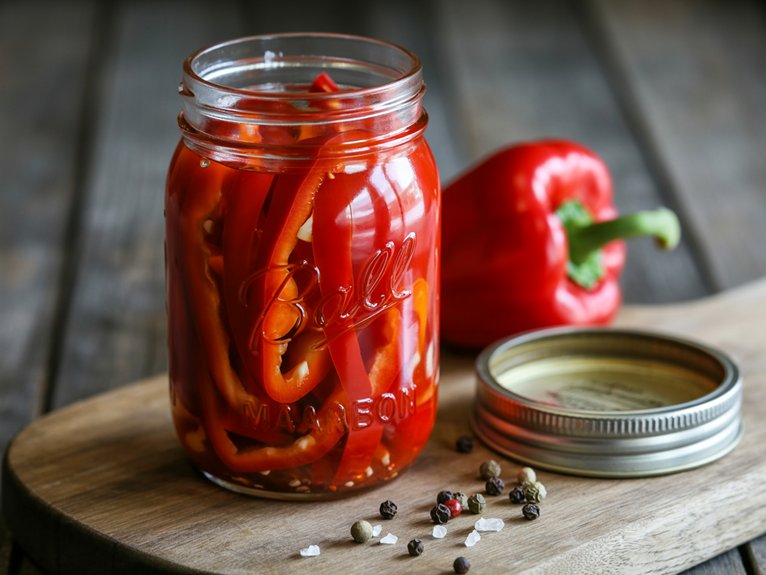
Homemade Pimento-Style Red Bell Pepper Canning Recipe
Achieve restaurant-quality pimento peppers at home with this simple canning method that beats store-bought versions every time.
I’ll be honest with you—I used to think pimentos were just those weird little red things stuffed in olives. Turns out, you can make your own version at home, and it’s ridiculously better than anything you’ll find in a jar at the store. The process isn’t complicated, but there are a few tricks that’ll save you from mushy, flavorless disappointment. Ready to transform ordinary red bell peppers into something that’ll make your taste buds do a little happy dance?
Why you’ll love this dish
Because homemade pimento-style peppers taste infinitely better than anything you’ll pull from a grocery store jar, you’re about to discover why this simple recipe deserves a permanent spot in your canning repertoire.
I’m talking about peppers that actually have flavor, not those mushy, over-salted disappointments masquerading as food. You control the salt, the texture, the everything.
Plus, these beauties work magic in potato salad, deviled eggs, and cheese spreads. Why settle for bland when you can create something that’ll make your neighbors suddenly very interested in being friends?
Ingredients
The beauty of this recipe lies in its stunning simplicity. We’re talking about four ingredients, people, and one of them is water. If you can’t remember four things, maybe canning isn’t your calling, but I believe in you. This is the kind of recipe that makes you feel like a domestic goddess without requiring a PhD in food science.
- 3 pounds red bell peppers
- 1 teaspoon salt
- 2 teaspoons lemon juice or vinegar
- Water
Now, let’s talk about picking your peppers because not all red bells are created equal. You want thick-walled, meaty peppers that feel heavy for their size, the kind that make a satisfying thunk when you set them on the counter. Skip the wrinkled, soft ones that look like they’ve given up on life. As for the lemon juice versus vinegar debate, both work perfectly fine for acidity, so use whatever you have lurking in your pantry. The salt measurement here is per quart jar, so don’t go dumping the whole teaspoon into one lonely pint, unless you enjoy food that tastes like the Dead Sea. When it comes to equipment, a professional stock pot set will make the blanching and cooking process much more efficient and consistent.
Directions

First things first, we need to get those 3 pounds of red bell peppers ready for their spa treatment. Remove the stems and scoop out all the seeds, because nobody wants to bite into a crunchy surprise later.
Pop those peppers into a 400-degree oven and let them roast until their skins are blistered and pulling away from the flesh like they’re trying to escape. This usually takes about 20-30 minutes, but keep an eye on them because ovens have personalities and yours might run hot or cold.
Once they look properly tortured, plunge them straight into cold water, which will make the skins slip off easier than a silk dress. Peel away those charred skins and cut your peppers into large chunks or slices, whatever makes your heart happy.
Now comes the packing party, and this is where things get real about food safety. Pack those beautiful pepper pieces into hot jars, leaving a full inch of headspace at the top because these babies need room to breathe.
Add 1 teaspoon of salt and 2 teaspoons of lemon juice or vinegar to each quart jar, then cover everything with boiling water, leaving 1/2 inch of headspace this time. Wipe those jar rims clean because even a tiny bit of pepper juice can prevent a proper seal, and nobody wants their hard work to go bad on the shelf.
Here’s where I need to channel my inner safety instructor: these peppers must, and I mean absolutely must, go into a pressure canner. Water bath canning isn’t an option here, no matter what your great-aunt Mildred says about her old-fashioned methods.
Process pints for 35 minutes and quarts for 40 minutes at the proper pressure for your altitude. Trust me, botulism isn’t the kind of surprise you want to unwrap later, so follow these times religiously.
Substitutions and Variations
While red bell peppers are the classic choice for pimento-style peppers, you’ve got some wiggle room to play around with different varieties if you’re feeling adventurous.
Orange and yellow bell peppers work beautifully, though they’ll give you a sweeter flavor profile. Want some heat? I’d suggest mixing in a few mild poblanos or Anaheim peppers.
You can swap the lemon juice for white vinegar if that’s what you have on hand.
Both provide the necessary acidity for safe canning. Just don’t skip it entirely – we’re not trying to create a science experiment gone wrong here.
Additional Things to Serve With This Dish
Once you’ve got these beautiful, glossy pimento-style peppers in your pantry, you’ll wonder how you ever lived without them.
I toss them into everything from pasta salads to grilled cheese sandwiches. They’re absolutely perfect stuffed into olives for martinis, or layered in antipasto platters alongside sharp cheeses and cured meats.
You can blend them into creamy dips, fold them into scrambled eggs, or pile them high on pizza. They brighten up grain bowls, add sweetness to soups, and make any sandwich infinitely better.
For perfectly uniform pepper strips that showcase their vibrant color, a mandoline slicer makes quick work of achieving consistent thickness every time.
Honestly, is there anything these peppers can’t improve?
Final Thought
Though the process might seem intimidating at first glance, making your own pimento-style peppers really isn’t rocket science.
Sure, you’ll need a pressure canner, but once you’ve got that sorted, you’re golden.
The hardest part? Probably resisting the urge to eat all those beautiful roasted peppers before they make it into jars.
Trust me, the temptation is real.
But when you’re pulling these ruby gems from your pantry months later, adding them to everything from sandwiches to salads, you’ll pat yourself on the back.
Homemade always beats store-bought, and your taste buds will thank you.


