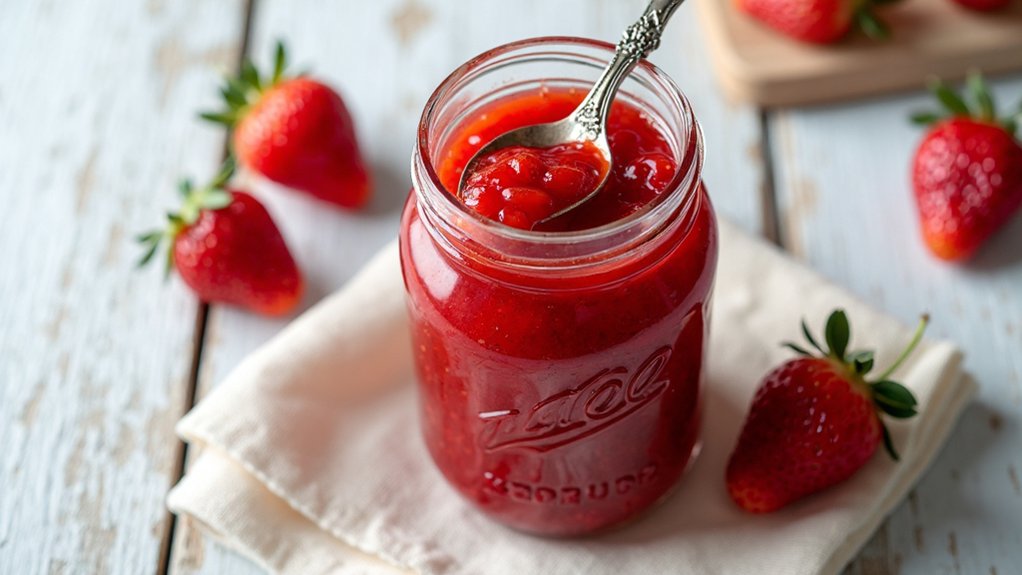
Sweet & Simple Homemade Strawberry Jam Recipe
Uncover the ridiculously easy 4-ingredient strawberry jam secret that will make you wonder why you ever bought store-bought.
I’m about to share something that’ll make you question why you’ve been buying store-bought jam all these years. This strawberry jam recipe uses just four ingredients—no fancy equipment, no mysterious pectin powder that sits in your pantry judging you. It’s honestly the kind of recipe that makes you feel like a domestic goddess, even if you can barely boil water without setting off the smoke alarm. Ready to discover what real strawberry jam tastes like?
Why you’ll love this dish
Simplicity meets perfection in this homemade strawberry jam that’ll make you wonder why you ever bought the store-bought stuff.
I’m talking four ingredients, one pot, and minimal effort for maximum flavor payoff. No pectin needed – just patience while those berries transform into glossy, spreadable gold.
What’s not to love about controlling every single ingredient that goes into your breakfast? Plus, your kitchen will smell like summer dreams while it bubbles away.
Trust me, once you taste this bright, naturally sweet jam, those fancy store brands will seem like expensive disappointments sitting sadly on supermarket shelves.
Ingredients
The beauty of this strawberry jam recipe lies in its gorgeous simplicity – we’re talking about a grand total of four ingredients that you probably already have lurking in your kitchen.
No need to hunt down obscure preservatives or question marks you can’t pronounce, just pure, honest ingredients that work together like they were meant to be best friends.
- 4 cups strawberries, hulled
- 3 cups sugar
- 1/4 teaspoon almond extract
- 1/2 teaspoon lemon juice
Now, let’s talk quality because these few ingredients are doing all the heavy lifting.
Choose strawberries that smell like summer and give slightly when you press them – rock-hard berries will give you rock-hard attitude when it comes to breaking down during cooking.
The sugar isn’t just for sweetness, it’s your natural preservative and thickening agent, so don’t try to cut corners here unless you want runny disappointment.
That tiny splash of almond extract might seem insignificant, but it’s the secret weapon that makes people wonder what magical thing you did differently.
The lemon juice keeps everything bright and helps with that perfect jam texture, so fresh is best, but bottled will do just fine if that’s what you’ve got.
Directions
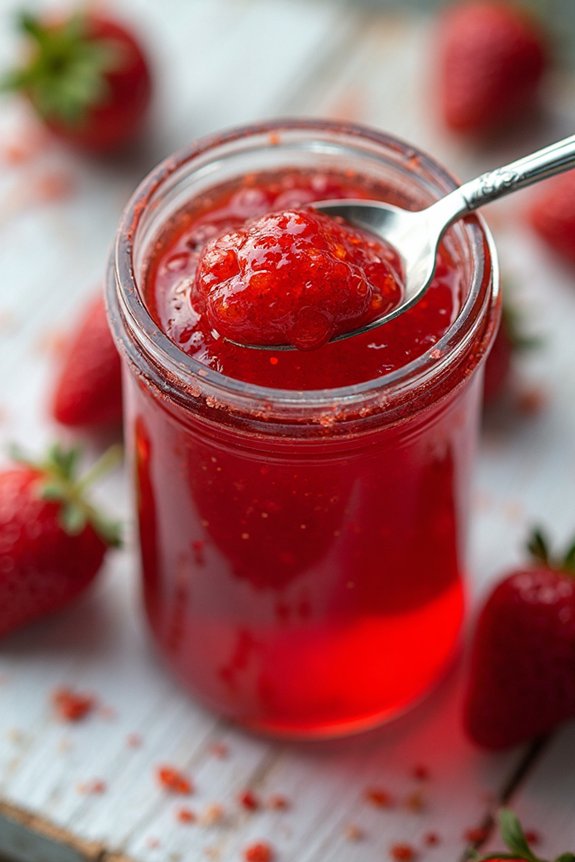
Making this jam is honestly easier than explaining to your neighbor why you’re picking strawberries at 6 AM – it just takes a little patience and the willingness to stir things occasionally.
Start by combining all your ingredients – those 4 cups of hulled strawberries, 3 cups of sugar, 1/4 teaspoon of almond extract, and 1/2 teaspoon of lemon juice – in a large pot, and I mean large because this mixture has ambitions to bubble up and make a mess if you give it half a chance.
Set your heat to medium-low and let the sugar work its magic, dissolving slowly while you stir occasionally for about 10 minutes, which is just enough time to clean up the strawberry massacre you probably created on your cutting board.
Once that sugar has disappeared into the strawberry mixture like your motivation on Monday morning, crank up the heat to medium or medium-high and let everything come to a slow, happy boil.
This is where the real magic happens, so settle in for 30 to 40 minutes of stirring frequently once things start to thicken up, because unstirred jam is burnt jam, and burnt jam is just expensive regret.
You’ll know you’re getting close when the mixture reaches 220°F on a candy thermometer, or when it coats the back of a spoon and doesn’t immediately run off like it’s late for something important.
Turn off the heat, let everything cool down, and skim off any foam that’s formed on top – think of it as the jam’s way of getting rid of its own impurities, very zen-like really.
Once it’s completely cooled, you can either can it properly for long-term storage or just stick it in the fridge where it’ll keep you happy for weeks.
If you’re planning to make jam regularly or in larger batches, investing in a professional stock pot set will give you the heavy-duty cookware needed to handle bigger quantities without worrying about scorching or uneven heating.
Substitutions and Variations
Now that you’ve mastered the basic recipe, let’s talk about how you can mess around with it – because honestly, who doesn’t like to put their own spin on things?
I love swapping the almond extract for vanilla or even a splash of balsamic vinegar for tang. You can reduce sugar to 2 cups if you prefer less sweetness, though it won’t set as firmly.
Mixed berries work beautifully too – try half strawberries, half raspberries. Want texture? Leave some berries chunky instead of letting them break down completely.
Small tweaks, big flavor payoffs.
Additional Things to Serve With This Dish
While fresh strawberry jam is absolutely perfect straight from the spoon – don’t judge me – it really shines when you pair it with the right companions.
I’m talking warm buttermilk biscuits that practically melt in your mouth, or classic English scones with clotted cream. Toast gets elevated from boring to brilliant with a generous smear.
Think beyond breakfast though – swirl it into plain yogurt, dollop it on cheesecake, or use it as a filling for thumbprint cookies.
Even a simple peanut butter and jam sandwich becomes gourmet when you’re using homemade strawberry goodness.
Final Thought
Once you’ve tasted your first spoonful of this homemade strawberry jam, you’ll understand why store-bought versions pale in comparison – there’s something magical about capturing summer’s sweetness in a jar.
I’m convinced this recipe will become your go-to whenever strawberries are at their peak. The beauty lies in its simplicity – just four ingredients and some patient stirring.
You’ll find yourself making batch after batch, probably giving jars away to neighbors who’ll suddenly become your best friends.
Trust me, once you master this technique, you’ll never look at those grocery store jars the same way again.


